Look-Back of Patients and Donors

Principle:

Using the Medinfo Hematos IIG program, it is easy to perform look-back for patients who have developed an infectious disease that might have been transmitted by a blood component.  Likewise, if a donor develops an infectious disease that is transmissible to patients, we can check which patient(s) received blood components from the incriminated donor.  The time interval for checking will vary according to local regulations.

Policy:

  1. If a patient is reported to have developed an infectious disease which might have been transmitted by a blood component transfusion:
    1. Review the patient’s infectious marker testing data.
    2. Review the patient’s transfusion history, especially for any transfusions at outside institutions or any other body fluid exposures.
    3. Look up the transfusion history in Medinfo HIIG.
    4. Determine which transfusions occurred during the deferral period for that disease.  Examples:
      1. HBV—6 months
      2. HCV—6 months
      3. HIV—2 months
      4. Malaria—6 months
      5. HTLV—6 months
      6. Syphilis—12 months
    5. Look up the donors for each donation during the specified interval.
    6. Check each donor’s donation records for:
      1. Infectious disease marker testing
      2. Questionnaires—any irregularities noted?
    7. Call donors back for repeat testing (only on advice of the investigating transfusion medicine physician)
    8. Collate all results and prepare an interpretative report.
    9. Interpretative report must be reviewed/released by the Head, Transfusion Medicine.
    10. Submit the report to Infectious Disease and the patient’s most responsible physician
    11. If any irregularities are found, assess processes to make any improvements in an attempt to minimize future risk.
    12. Prepare an OVA according to HMC procedures.
  2. If donor develops an infectious disease:
    1. Review the donor’s infectious marker testing results.
    2. Check if the donor had any body fluid exposures.
    3. Obtain new specimen from the donor.
    4. Look up all components made from that donor.
    5. Determine which transfusions occurred during the incubation period for that disease.  Examples:
      1. HBV—6 months
      2. HCV—6 months
      3. HIV—2 months
      4. Malaria—6 months
      5. HTLV—6 months
      6. Syphilis—12 months
    6. Recheck the complete donor history including infectious disease marker testing and questionnaire
    7. If samples are available from the interval, repeat donor marker testing on it.
    8. Look up the patient/recipients for each donation during the specified interval
    9. Check each patient’s records for infectious disease marker testing results
    10. Call patients back for repeat testing (only on advice of the investigating transfusion medicine physician in conjunction with the Infectious Disease department.)
    11. Collate all results and prepare an interpretative report.
    12. Interpretative report must be reviewed/released by the Head, Transfusion Medicine.
    13. Submit the report to Infectious Disease and the patient’s most responsible physician
    14. If any irregularities are found, assess processes to make any improvements in an attempt to minimize future risk.
    15. Prepare an OVA according to HMC procedures.

Reference:

Standards for Blood Banks and Transfusion Services, Current Edition, Bethesda, MD, USA
External Disaster Plan

Principle:

Maintaining an adequate blood supply and expedited compatibility testing are critical in disaster planning.  This plan is assuming that the Blood Donor Center is functional and can process donors and make components.

Medinfo Hematos IIG System is critical to monitoring inventory, preparing blood components expeditiously using Good Manufacturing Processes, and distributing blood components in a timely controlled manner.

Policy:

  1. Determinate total available blood supply across all locations by using the Cumulative Stock Display program in Medinfo Hematos IIG.
    1. Recheck stock at least every hour during the disaster.
  2. At each transfusion service site, in conjunction with the Transfusion Medicine Consultant:
    1. Cancel reservations for elective surgical and non-emergency medical cases of affected ABO/D types.
    2. Retain reservations for antigen-matched, oncology, NICU, and high-risk obstetrical cases.
  3. Inform Manager for Donor Recruitment/Logistics to send SMS, radio, and television messages for blood donors—all types.
  4. Contact ALL staff and have them report to duty.
    1. At Blood Donor Center, the Head Nurse, Recruitment Manager, Supervisor, Component Processing, and Supervisor, Marker Testing will contact their respective staff.
    2. At various hospital blood bank transfusion services, the site supervisor will contact all staff.
  5. Process blood components using automated component technology (Reveos).
  6. Perform all donor marker testing including single-well NAT.
    1. Abbreviation of donor testing is only at the discretion of the Head, Transfusion Medicine.
  7. Send blood components using Inter-Depot Transfer function of Medinfo.
  8. Transfusion Services:
    1. Release blood component according to the various protocols as needed:
      1. Massive transfusion protocol
      2. Emergency release
      3. STAT
      4. Priority
      5. Routine
  9. Compatibility testing will be electronic, immediate-spin, or full AHG as per our protocols.

References:

  1. Standards for Blood Banks and Transfusion Services, Current Edition, AABB, Bethesda, MD, USA
  2. Guidelines to the Preparation, Use, and Quality Assurance of Blood Components, European Committee (Partial Agreement) on Blood Transfusion (CD-P-TS), Current Edition

Revised 10/9/20

Review of Product Inserts

This is a policy I made for NGHA Jeddah many years ago but is still useful today.

Principle:

All technical staff are required to read and understand the manufacturer package inserts that apply to the procedures that they perform.  This policy establishes a means of documenting compliance with this requirement.

Policy Details:

  1. Technical staff are defined as anyone who uses the reagent in the performance of a procedure or process or anyone reviews or supervises that process or procedure.  This includes the supervisor, medical technologists, medical technicians, nurses, phlebotomists, and assistants.
  2. All technical staff are required to read and understand ALL product inserts for each procedure applicable to the section(s) that they work in—apheresis, donor room, component preparation, and/or transfusion service.
  3. If they have any questions about a particular insert, they should refer it to the supervisor, senior technologist (Med Tech 1), or in the latter’s absence, the blood bank medical director/section head.
  4. Each staff member must sign the Manufacturer’s Package Insert Review Form for that particular policy/procedure, including his signature, employee identification number, and date.
  5. Each Manufacturer’s Package Insert Review Form will be retained with a copy of the package insert by the Blood Bank Supervisor in a special file while the material is being used and for at least five (5) years after a new or revised manufacturer package insert is applicable.
  6. A new Manufacturer’s Package Insert Review Form should be used for each revision of the insert.

Insert Review Form

Type of Insert:  New  Revised
Product Name:
Date of Insert:

I have read this insert and understand its contents and accept responsibility for following its instructions and directions.

Staff Name & Badge #–PRINT!SignatureDate


Processes and Software Building 40: Reveos Detailed Settings

A major advantage in using a specific blood bank computer software is to enforce the Good Manufacturing Processes.  Medinfo is merciless:  there are no exceptions without authorization and that is restricted by the security policies.

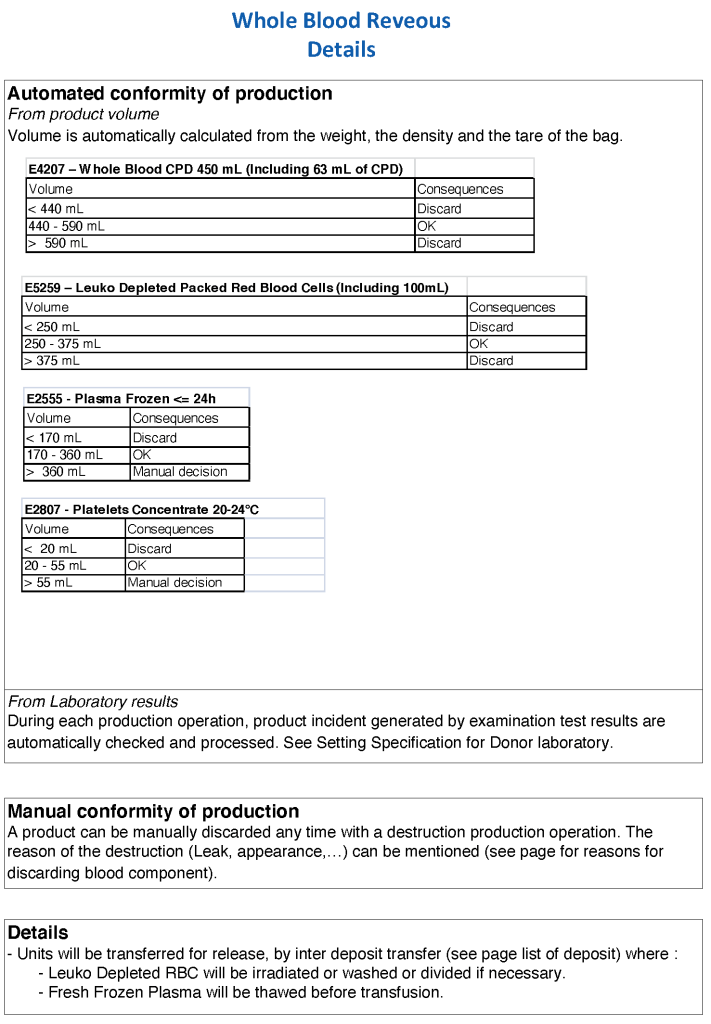
The following tables show the values established at HMC Doha during my tenure.  These values were recommended by the Terumo BCT Reveos engineer after his direct, hands-on set-up of the equipment.

The minimum and maximum volumes for platelets are specifically designed to work for pooling the buffy coats before Mirasol pathogen inactivation.  There are different settings for platelets suspended in plasma versus those suspended in platelet additive solution PAS.

Similarly, there are specific volume ranges for plasma so that pathogen inactivation can be performed according to Terumo BCT recommendations.

To Be Continued:  4/9/20

Processes and Software Building 24: Data Entry Verification

Principle:

This policy outlines steps taken to minimize the risk of data entry errors and is based on a dualistic approach:  review of results by a senior technologist and/or supervisor and various computer safeguards built into the Medinfo Hematos IIG blood bank computer HIIG system.  This policy also discusses the verification (here called authorization) and purge processes of HIIG.

Policy:

  1. Review by senior technical, supervisory, or transfusion medical staff:
    1. Designated test procedures require review by a second technologist before authorization.
    2. Complex immunohematology testing and specimens showing aberrant results (e.g. ABO/D discrepancies) are reviewed by the supervisors or designates and ultimately a transfusion medicine physician before authorization.
  2. Computer system HIIG rules:
    1. Privileges:
      1. System restricts which staff can perform specific tests
    2. Patient/donor identity:
      1. System asks end-users to verify patient/donor identity before starting any access to the patient/donor record.
      2. System performs historical database checking and flags any inconsistencies (e.g. historical ABO/D typing differences, etc.)
    3. Testing:
      1. Only selected staff have privileges to authorize or purge.
      2. ABO/D testing algorithms require entry of reactions, not interpretation of results and are compared to a truth table.
        1. Aberrant results require special review before ABO/D typing results can be authorized/purged.
        2. D-controls must be negative to allow D typing results to be authorized for liquid D-typing reagents.
      3. DAT results require appropriate controls to meet truth-table criteria.
      4. Eluates require last wash to be negative before authorization
    4. Blood components:
      1. Selection of RBC or plasma units requires two independent sample determinations within 72 hours of each other.
      2. ABO-incompatible RBC or FFP/FP24 transfusions are not allowed.
      3. Donors with any detectable antibodies are permanently deferred.
      4. Depending on the patient’s antibody history, release of RBC units may require antigen-matched units.  Examples:
        1. Mandatory matching (only antigen negative matched units allowed—no antigen positive or antigen-untyped units):  Antibodies against H, D, c, K, k, Kpa, Kpb, Jsa, Jsb, Jka, Jkb antigens, anti-PP1Pk
        2. Priority matching (incompatible or untested can be approved by a transfusion medicine physician):  C,E, e, Fya, Fyb, M, S, s
        3. Antigen matching not required:  Lea, Leb, N
      5. Least-incompatible crossmatch require special authorization to release
      6. Protocols to force irradiation or other modified components can be setup in HIIG.
    5. Donors:
      1. Donor tests have same criteria as the same test used in patient testing for controls, etc.
      2. Donor demographics are read directly from the Ministry of Interior database—no manual entry (bar code only used).

References:

  1. Workflows for Hematos IIG (1001 through 1005), 2013
  2. Standards for Blood Banks and Transfusion Services, Current Edition, AABB, Bethesda, MD, USA
  3. Guidelines to the Preparation, Use, and Quality Assurance of Blood Components, European Committee (Partial Agreement) on Blood Transfusion (CD-P-TS), Current Edition

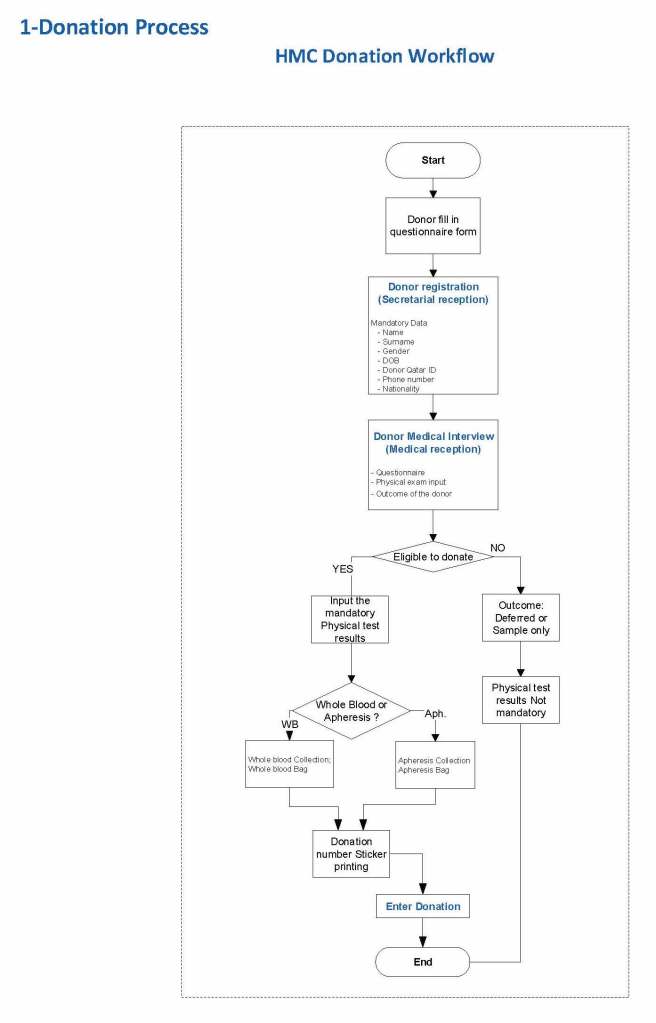
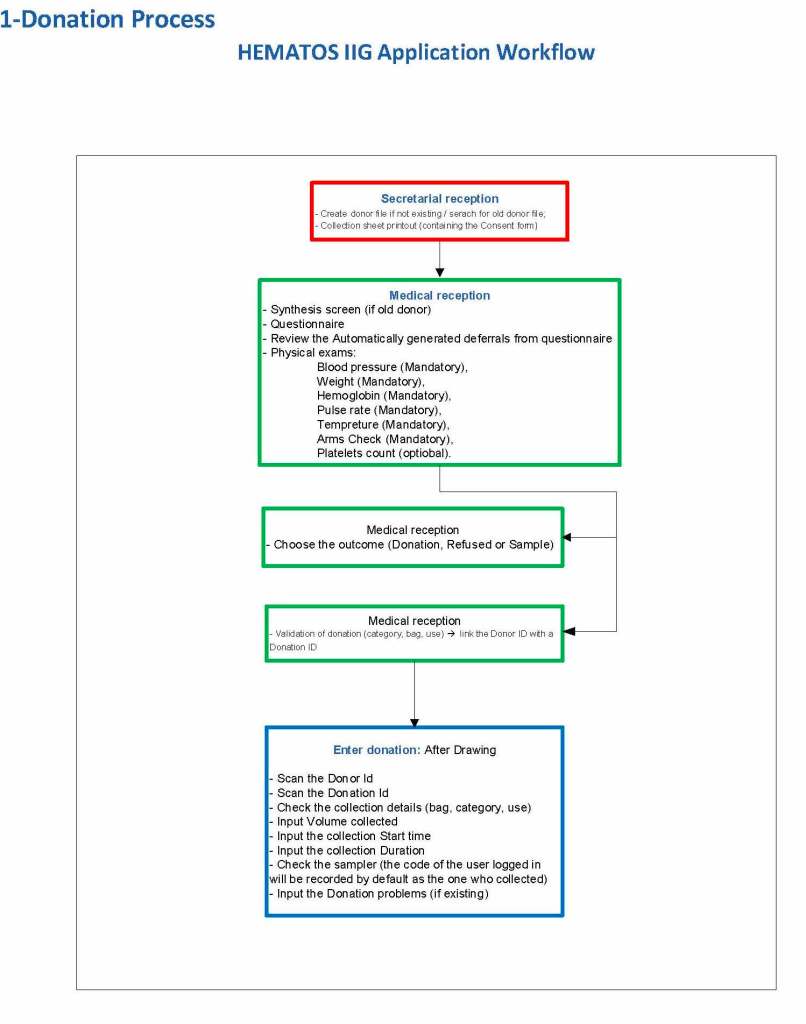
Processes and Software Building 22: Donor Collection 1: Current and Future States

This is a first is a series of detailed posts of how I collaborated with Medinfo (Nice, France) to build customized donor software for both Saudi National Guard Health Services and Hamad Medical Corporation Doha.

In particular, we were using a non-turnkey software which could be built to order.  If we didn’t know what we were currently doing, how could we build something better?

At both sites, we had good manual systems in effect and prepared detailed mapping of the current state.  We reviewed our variance reports to see where we needed to bolster the system and improve the critical control points.

We studied the software options and prepared a draft Medinfo future state from which we started to build the system.  We did this in small stages so we could test it and adjust our settings as needed—without being charged extra (unlike a general laboratory software I had been working with at the same time, which always charged an arm and a leg).

To do this, I engaged early a team of my most computer-literate staff to work as Super Users.  In the Donor Center, this consisted of nurses and technologists.

To Be Continued:

27/7/20

Processes and Software Building 22: Review of Laboratory Reporting Formats

Principle:

In accordance with the College of American Pathologists’ accreditation standards, all report structures (content, formatting) are reviewed at least biannually and upon modification by staff designated by the Chairperson, DLMP, here the Division Head, Transfusion Medicine/Laboratory Information System.

Policy:

  1. Responsibilities:
    1. The Chairperson, DLMP is ultimately responsible for the report formats, electronic and paper (if applicable) across all areas/divisions/sections of the department.
    2. The Chairperson, DLMP delegates the responsibility for this review to the Head, Laboratory Information Systems LIS.
    3. The Head, LIS reviews/approves the final reporting formats after review/acceptance of the formats by the Division and Section Heads for their respective areas.
  2. Content of the reports:
    1. Headers and footers as required, especially for paper reports
      1. Headers will include full patient name and a unique alphanumerical identifier, age, location, sex, date of testing/reporting, location, and ordering physician.
      2. Footers will include contact information for the site performing the testing and for the Chairperson, DLMP.
    2. Body of the report will include:
      1. Test results
      2. Flags
      3. Reference range
      4. Order and result comments
      5. Corrected/amended/appended results will be clearly marked, including any changes from the initial reports.
  3. Documentation of Review:
    1. Screenshots (electronic) or printout (paper formats) will be collated for one example of each test and reviewed by the Division/Section Heads and documented with a signature/stamp for each test result.
    2. Upon acceptance by the Division/Section Head, a cover letter summarizing the acceptance will be signed, stamped, and dated.
    3. The completed documentation will then be submitted to the Head, LIS for final review and approval.

Reference:

GEN.41077, Content/Format Report Review, CAP Checklist, Current Edition

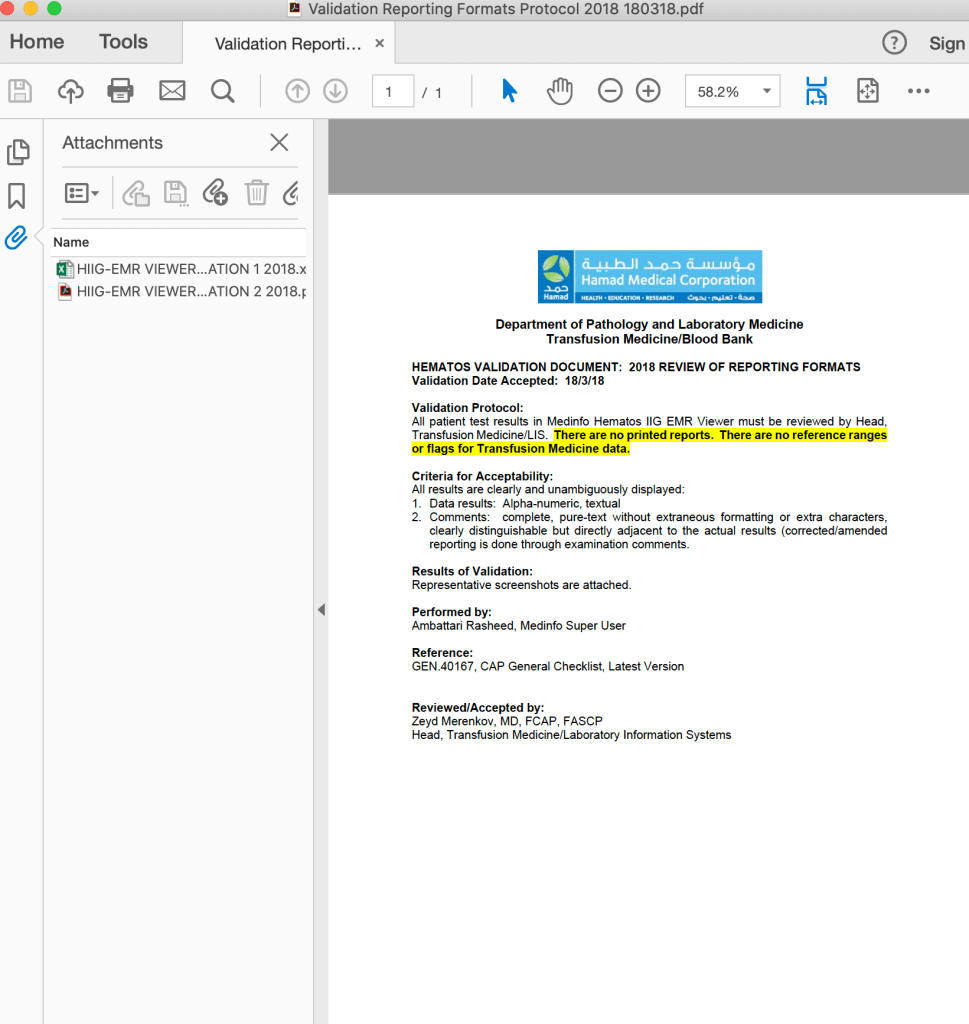
The following is a sample report I prepared during my tenure at HMC Doha:

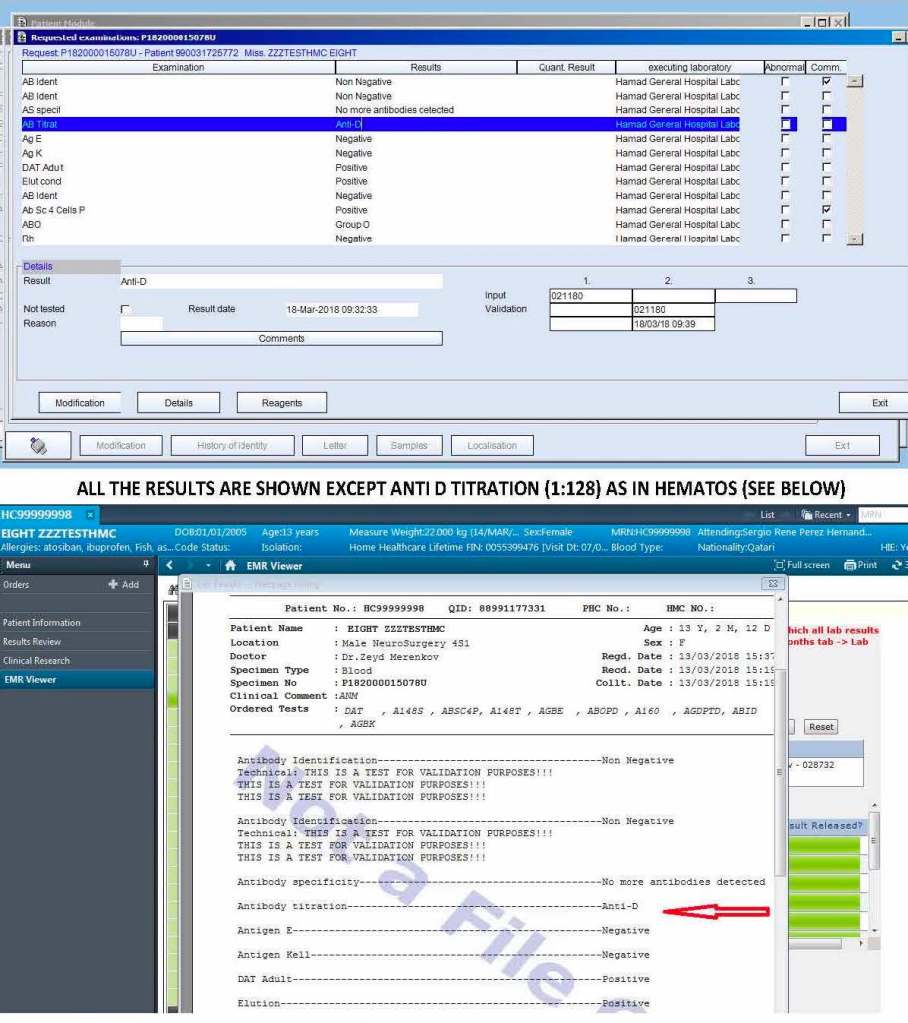
On the left-hand side of this composite PDF there are embedded attachments, which can be accessed by clicking on each one.  In this document,  I have shown a sample page from the actual screenshots generated.  The data showing is a dummy test patient (no real patient data is exposed).

Note that our design of Medinfo did not include printing copies of reports.  The only available reports were the screens.  Staff outside Transfusion Medicine viewed the blood bank reports through a separate database viewer.  In the example below, the Medinfo screen appears first followed by the EMR Viewer report.

Nursing Orientation from NGHA Riyadh
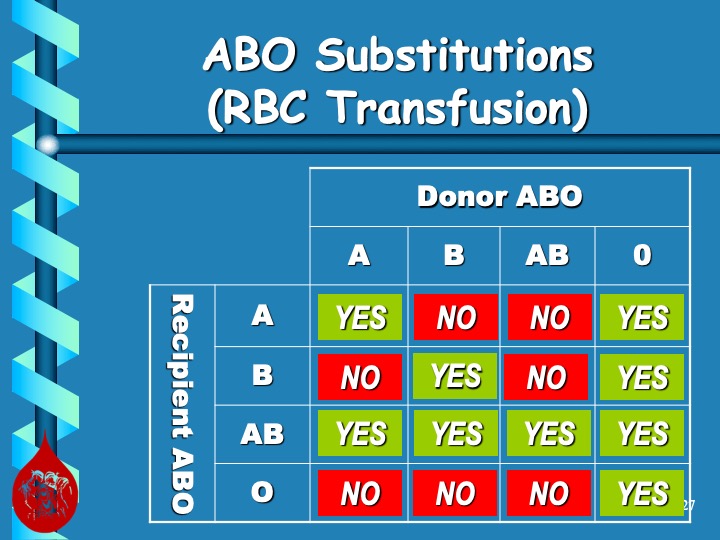
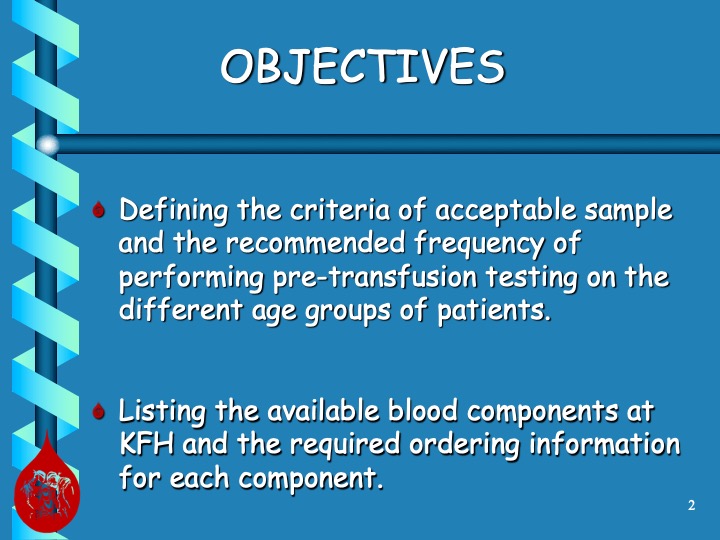
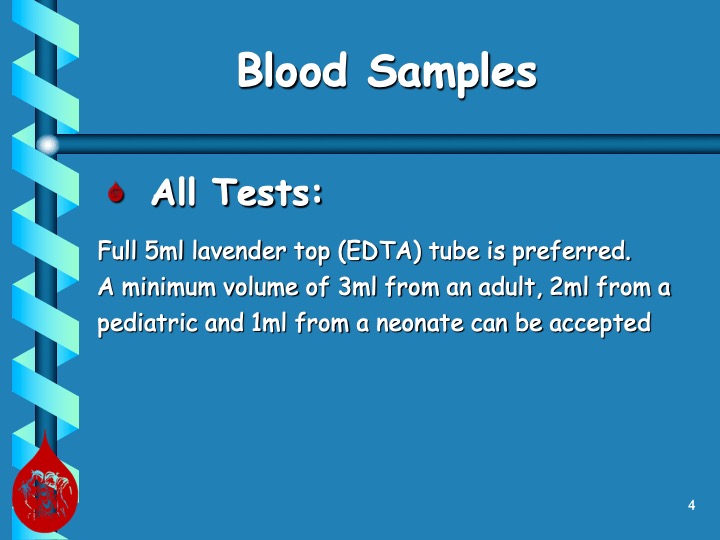
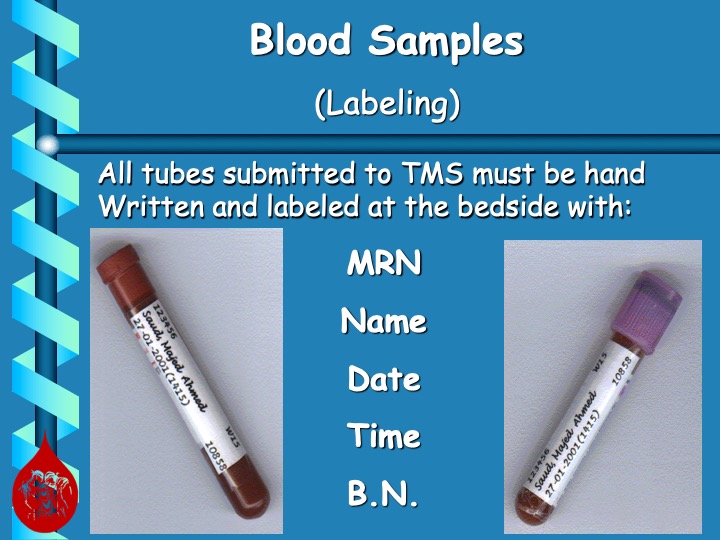
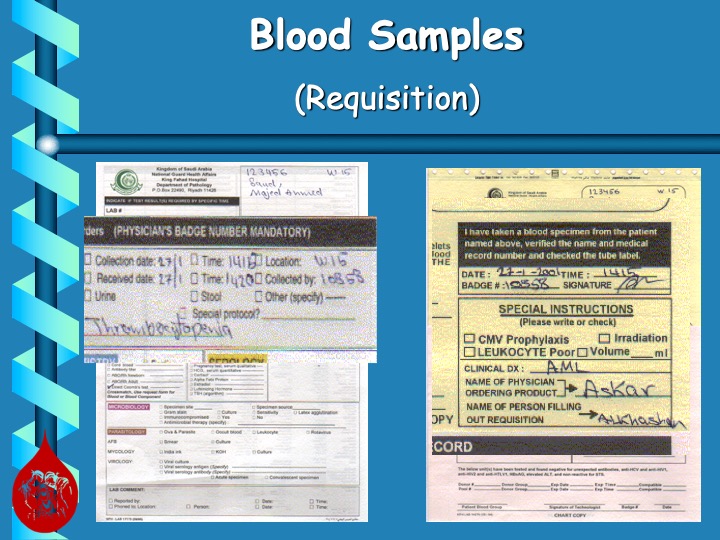
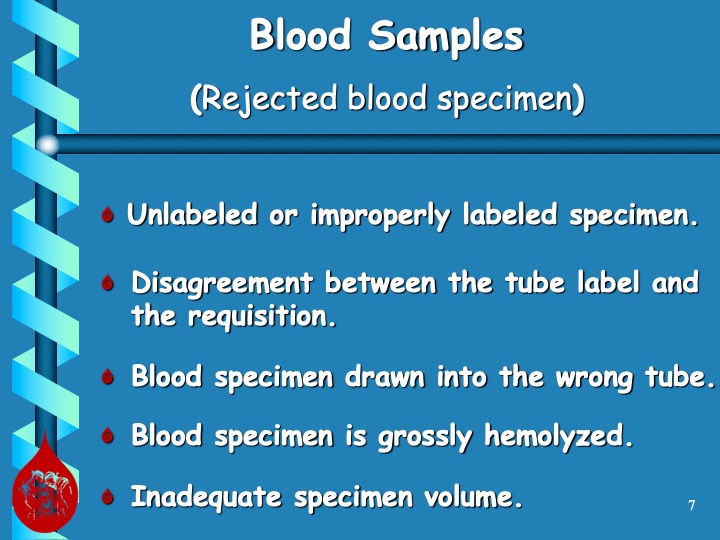
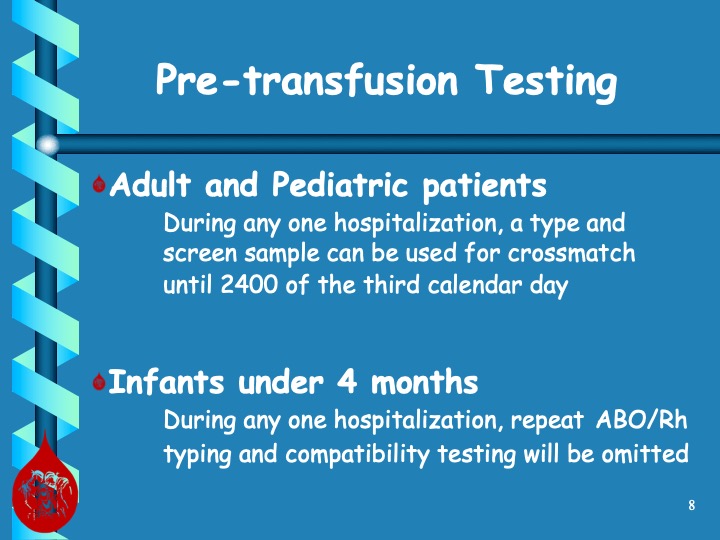
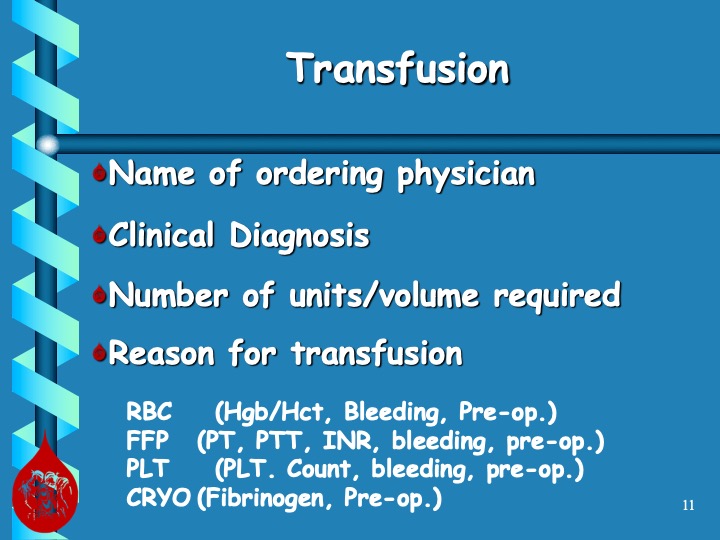
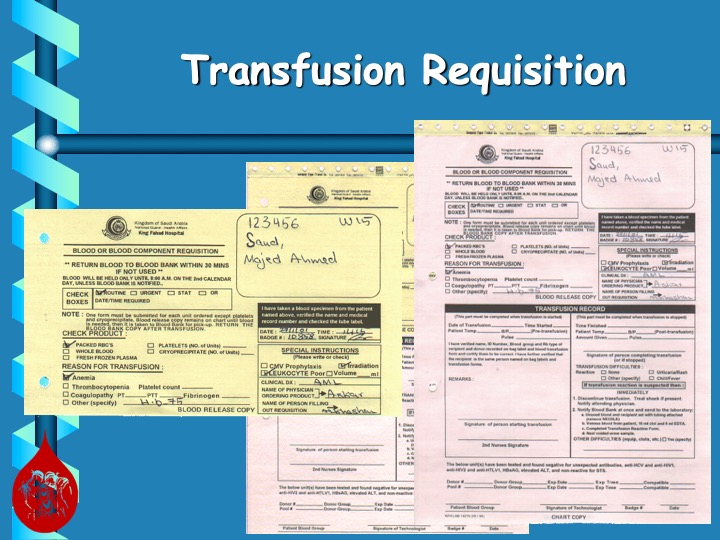
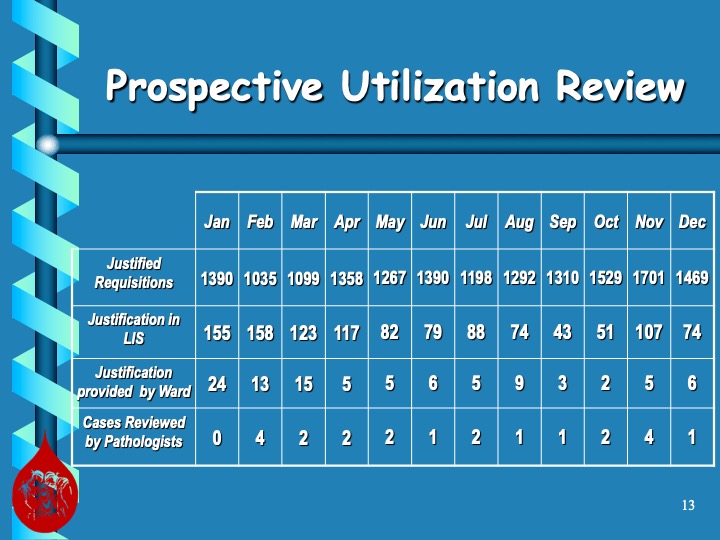
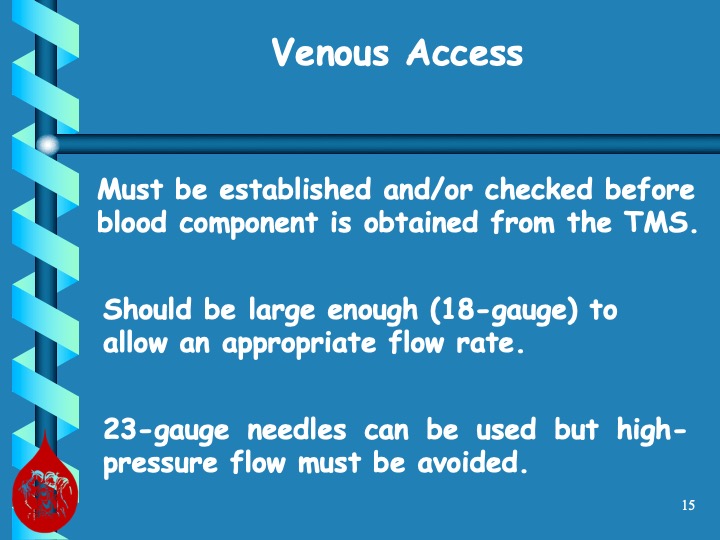
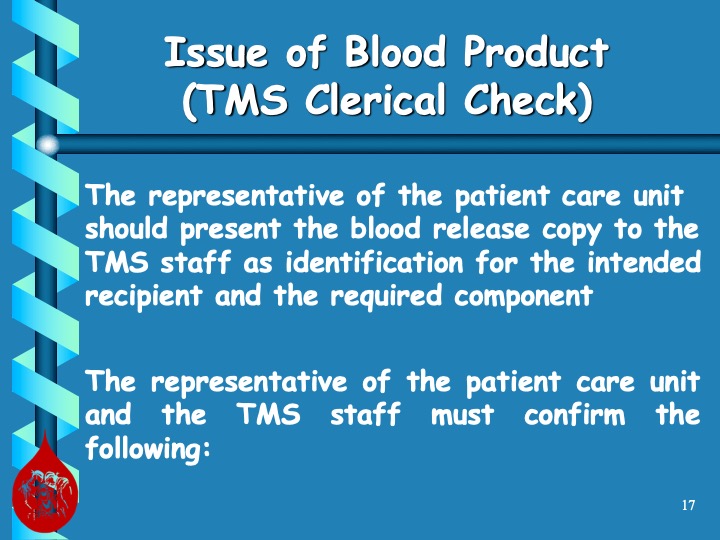
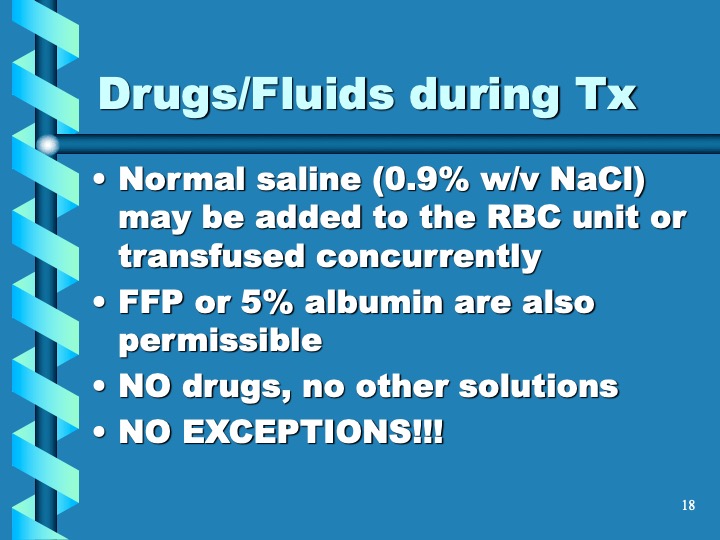
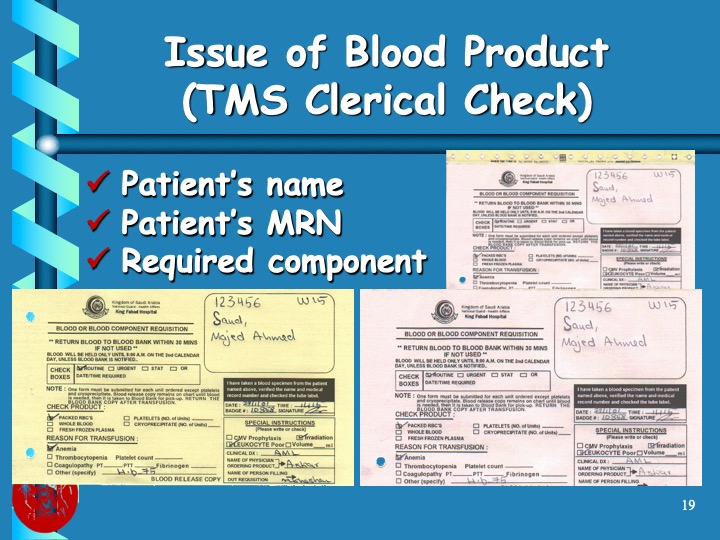
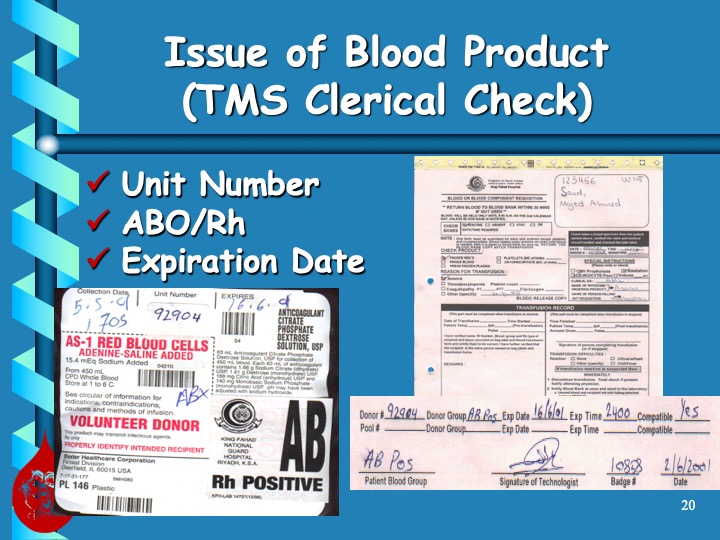
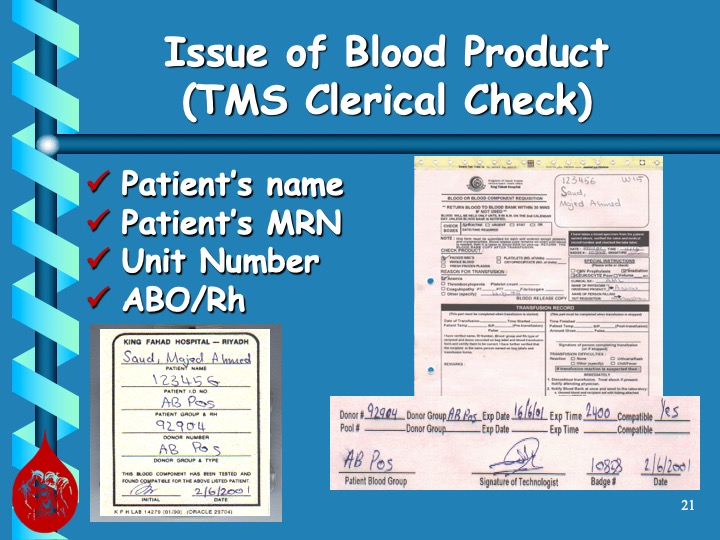
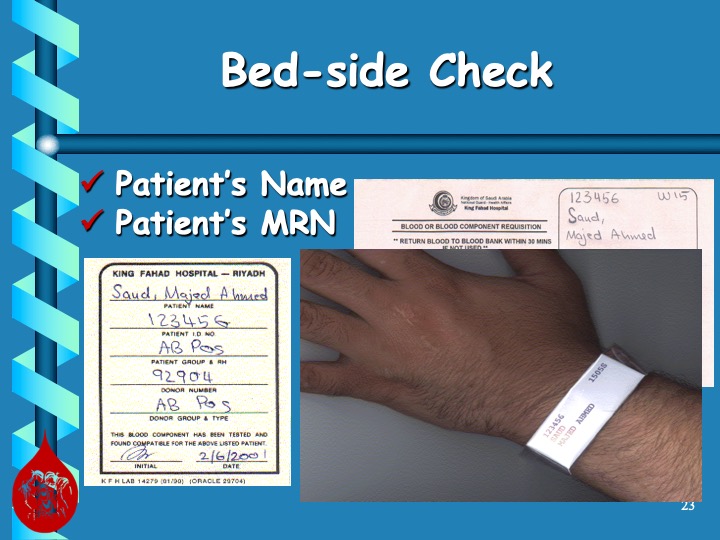
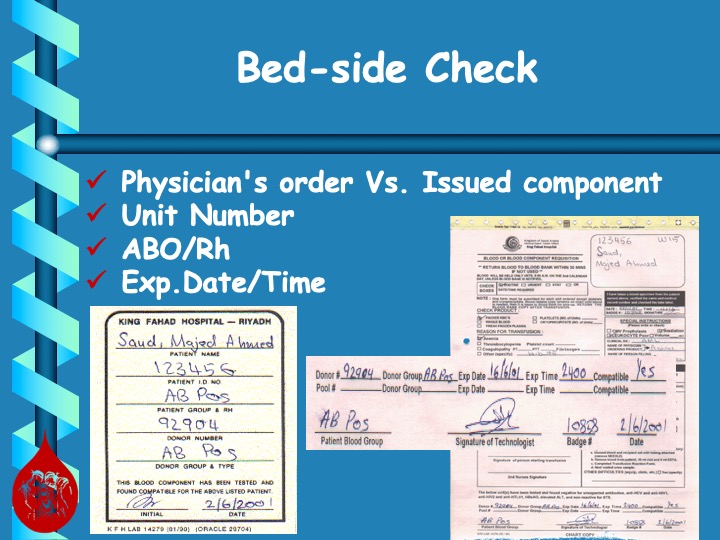
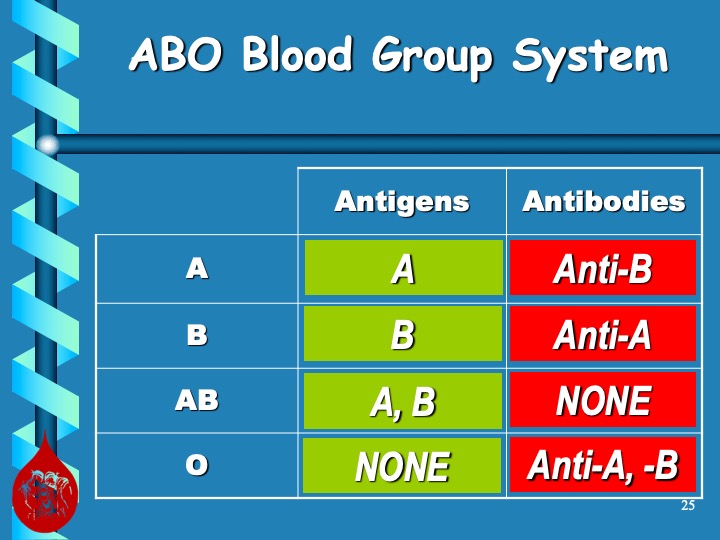
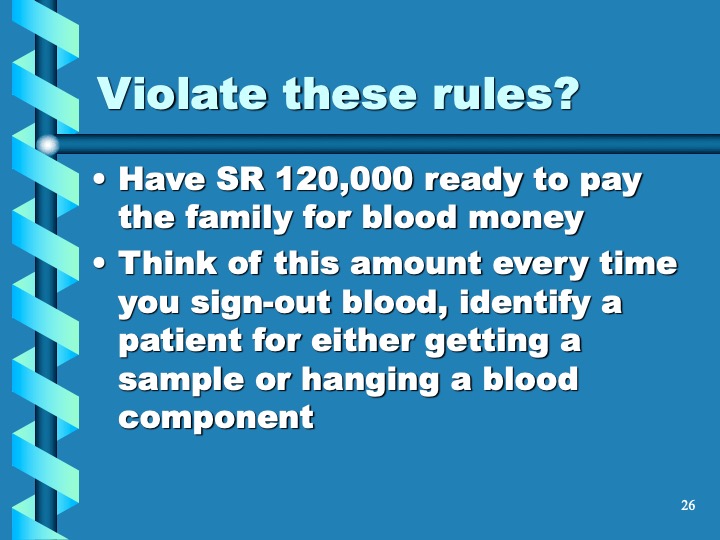
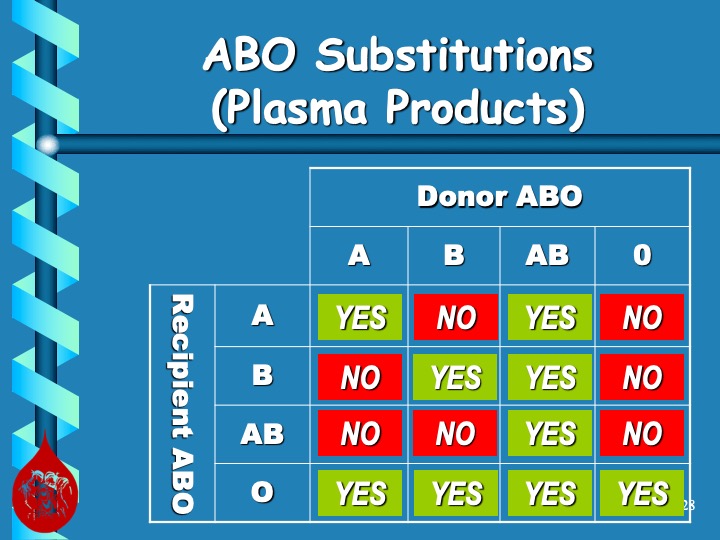
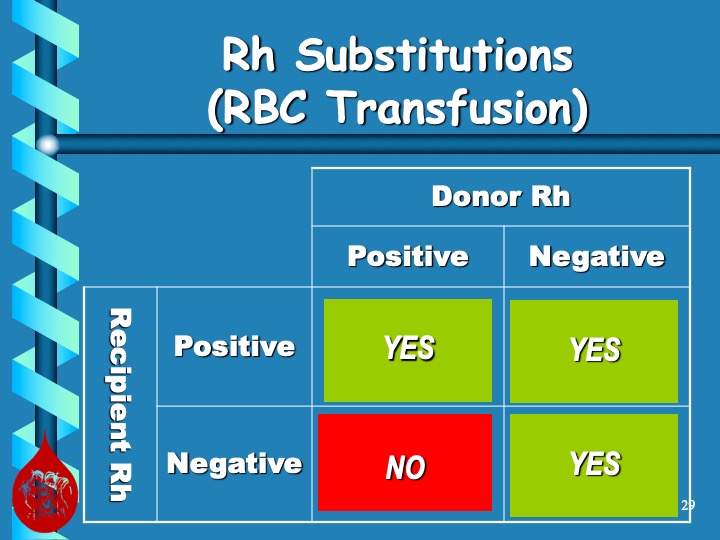
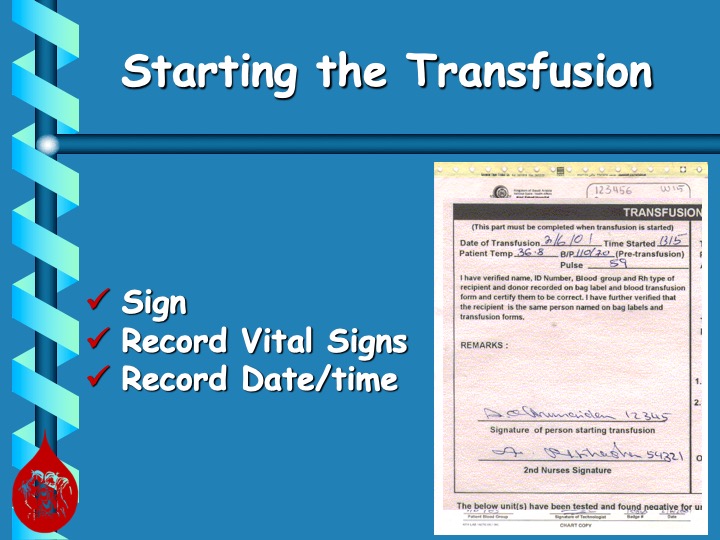
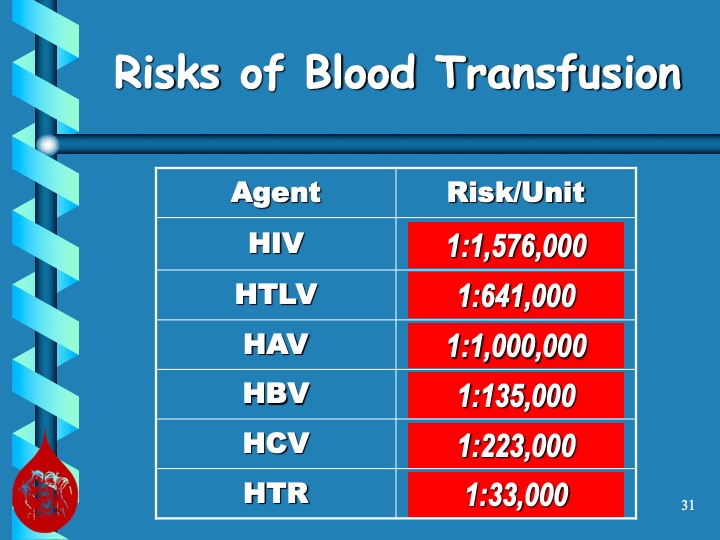
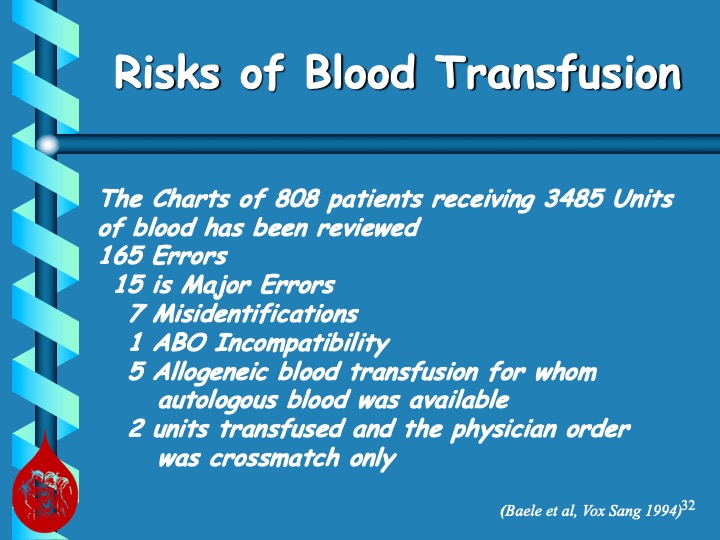
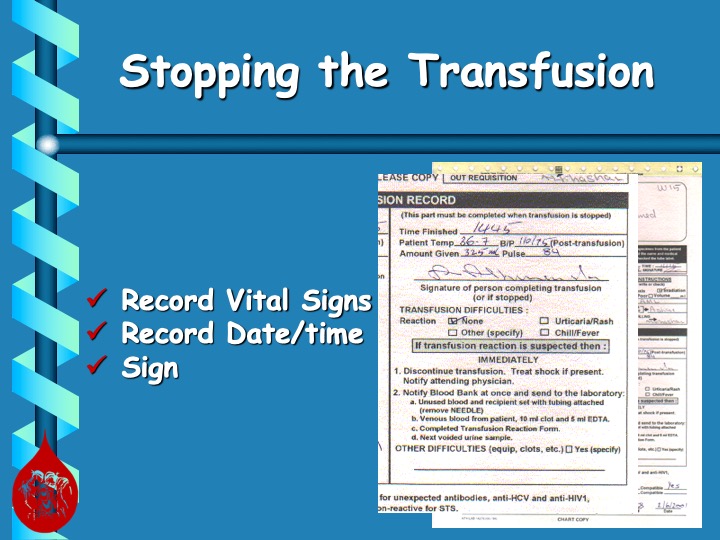
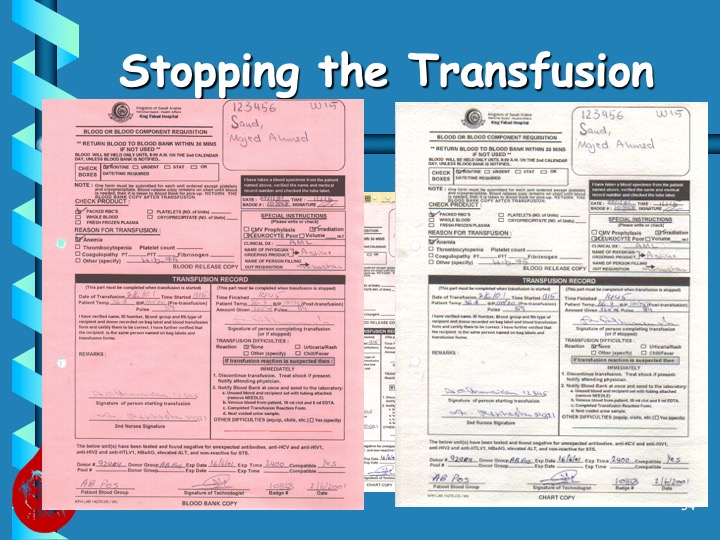
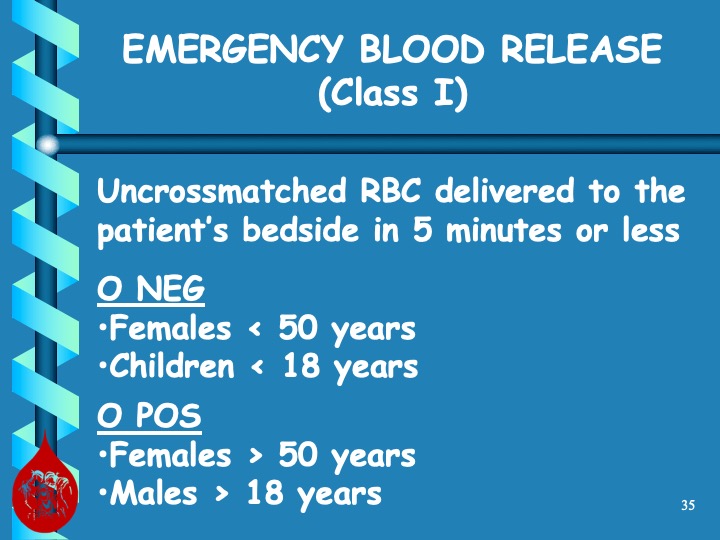
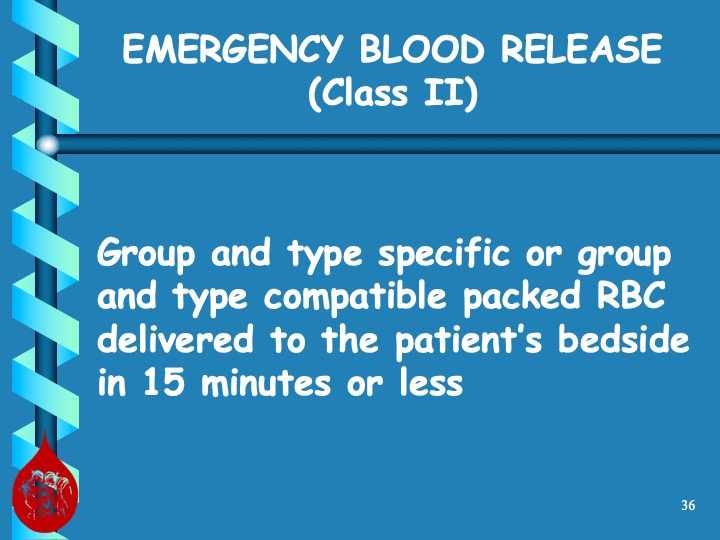
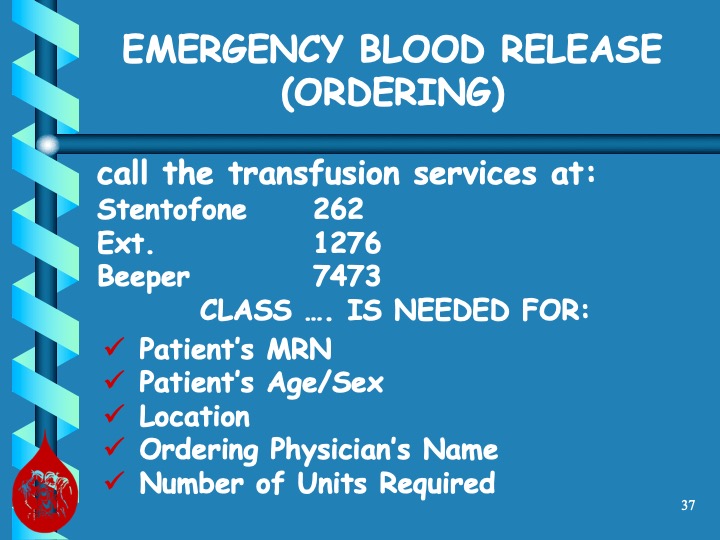
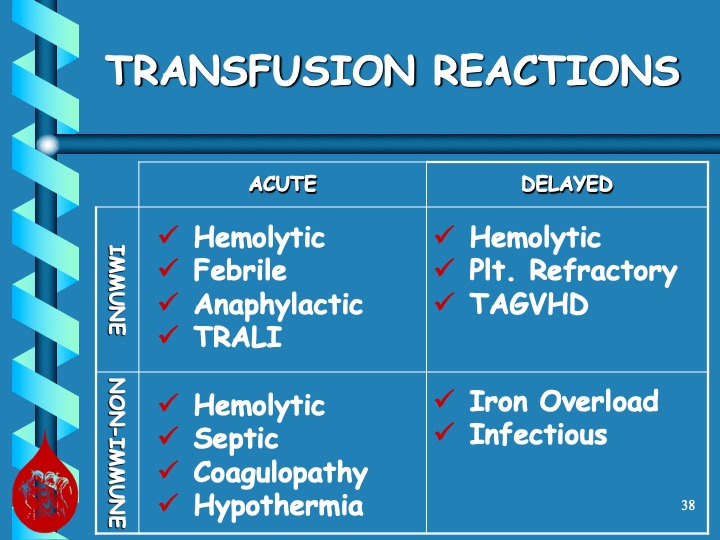
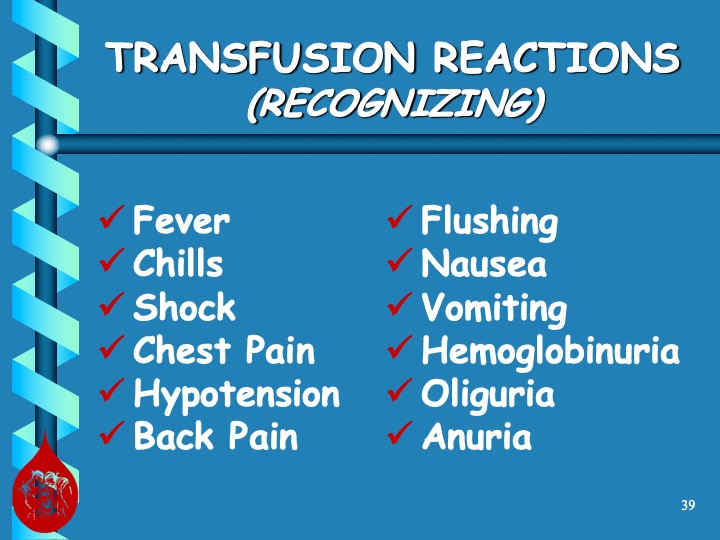
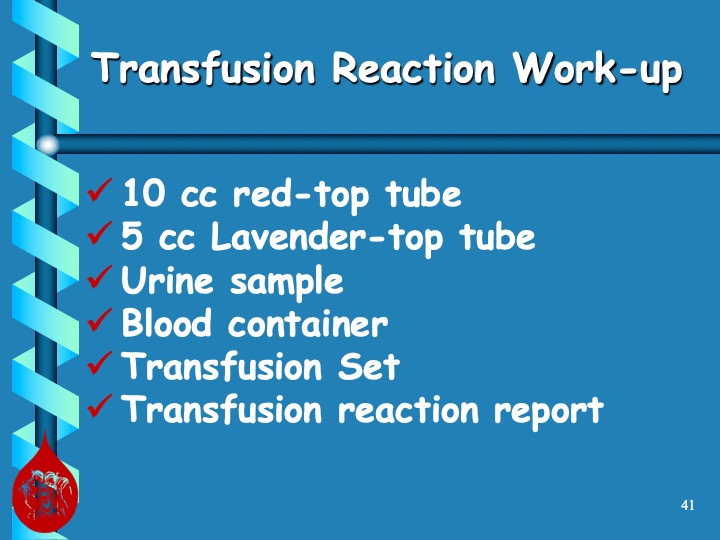
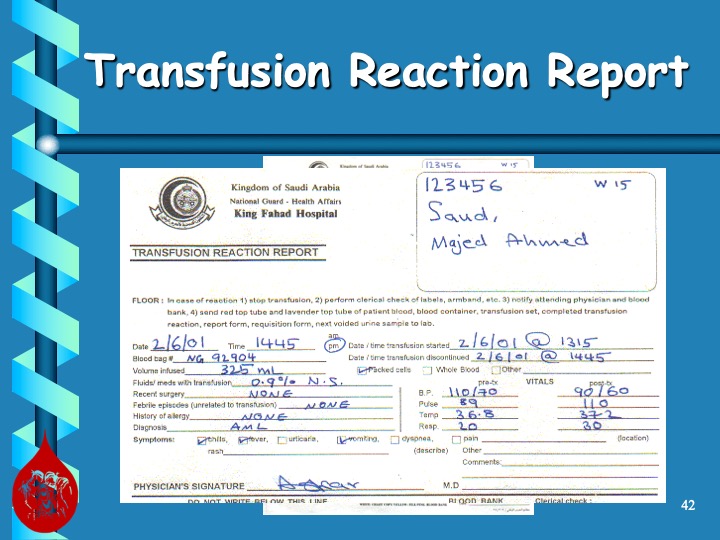
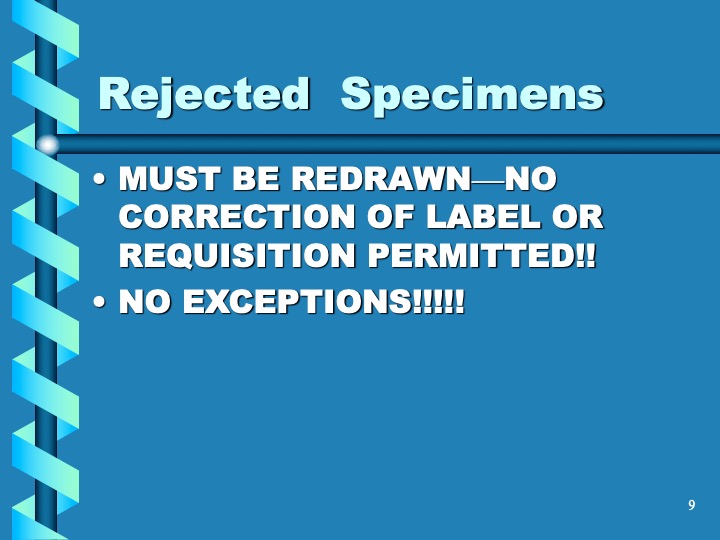
When I was affiliated with National Guard Health Affairs in Riyadh, my staff and I gave weekly new-arrival nursing orientations.  The attached PowerPoint file from 2004 shows the manual system in effect at the time, but it is still illustrative to acquaint new staff on the hospital blood bank as it relates to their nursing duties, including specimen collection, pick up and transfusion of blood components, and adverse effects of transfusion.

I wish to give full credit to Mr. Abdullah Al Khashan, who prepared this file in conjunction with Ms. Editha Durante, the Transfusion Clinical Resource Nurse.  The three of us used to rotate giving this lecture.  This is my version of their presentation (with some minor formatting changes).

Active Inventory Management: Further Discussion

Yesterday’s post showed my active blood inventory management scheme for my previous position in Qatar.  I thought today I would elaborate on how I adjust the inventory based on critical shortages and planning for disasters and other major events.

I always review the critical shortages to check for atypical usage (e.g. a disaster situation) or production issues (equipment breakdown, shortage of donors during holiday period).

If it is due to increased utilization, I try to adjust the critical and desirable inventories upward to cover the shortfall for future events.  However, it is not always possible if the event is a one-of-a-kind situation unlikely to recur.  Also, I must take into account the available resources (supplies, kits, manpower, equipment) to see if I can cope with the increase.

If it is due to resource issues, I see if I can bolster those by recommending increases or improving utilization of what is available.

Very important is through-put:  How quickly can I produce components from whole blood or apheresis components?  This was one of the major reasons we shifted away from PCR to other NAT testing with single-well processes since to minimize the need to make additional runs (Grifols Panther System).  Also, automated component processing can greatly speed production (one Reveos can process four whole blood units in about 23 minutes or about 12 units in 75 minutes.)  Those staff can be busy with other tasks while the machines are working.

In the system I developed in Qatar, we could complete processing into components (RBCs, buffy coat platelet pools, leukodepleted plasma)–Reveos 3C Program, all marker and immunohematology testing, leukoreduction of the pools and RBCs, Mirasol pathogen inactivation, and platelet additive solution in as little as five hours!!  There is great need for speed in a place that must be 100% self-sufficient in all blood components. We could even further reduce the total processing time if we only made RBCs and plasma, Reveos 2C Program

In rapid turn-around events, it is most helpful to have a robust blood bank computer system that can scale to the challenge.  Also, it must mercilessly enforce all the rules starting with donor qualification, screening, collection through testing and production.  At times of emergency, it is difficult to meet Good Manufacturing Processes manually.

After each major shortage, I recommend a “post-mortem” analysis of the situation with senior donor and quality staff to analyze our processes and see if we can further optimize them for the future.  A report is prepared and reviewed by me as the Division Head/Medical Director of the Blood Bank.  If possible, we implement our recommendations.  If not, I request additional resources from the Administration.

As regards Disaster Planning, I always asked Administration how many victims did they want to save?  When I got the response, I always try to adjust inventory by two extra RBCs and one adult platelet dose (> 2E11) per salvageable victim.  This may come at the expense of increased wastage, especially in a region that cannot export the excess, unused stock.

The exasperating issue is that I didn’t get a clear answer on this last point.  What number should I use?  I made a spreadsheet showing calculations for a variety of endpoints, e.g. 100, 500, 1000 treatable victims and sent this to Administration to consider.